
Do wheel spacers rust? Read the surface before you reuse the part
Aluminum does not rust like steel, but that does not make an aluminum wheel spacer immune to corrosion. Water, road salt, damaged finishes and a dissimilar-metal joint can leave deposits, pitting or a spacer that will not release from the hub.
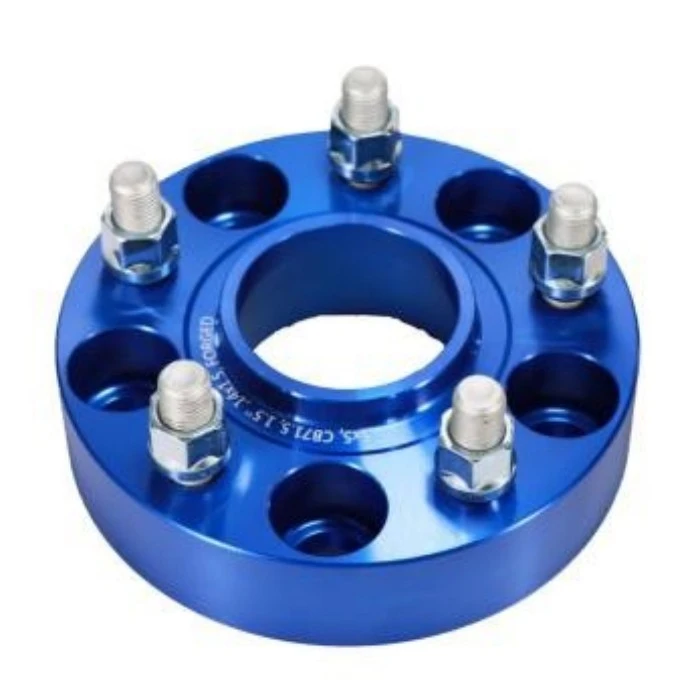
Rust is one type of corrosion, not the only type
The useful distinction is simple: iron and steel form rust. Aluminum forms aluminum oxide and can suffer other corrosion forms. Calling every deposit “rust” can send the inspection in the wrong direction.
The Aluminum Association explains that aluminum exposed to air develops a thin protective oxide layer. It also notes that aluminum can stain under some moisture and storage conditions even though it does not rust as steel does. [1]
Often points toward iron-bearing rust from a steel hub, rotor hat, fastener or transferred particles. It does not automatically prove that the aluminum body is damaged.
May be aluminum oxide, corrosion product, road-salt residue or cleaner deposit. Wipe-off appearance alone cannot classify the remaining surface.
Changes to the base metal or a mounting interface matter more than color. Clean, dry and inspect the actual surface under good light.
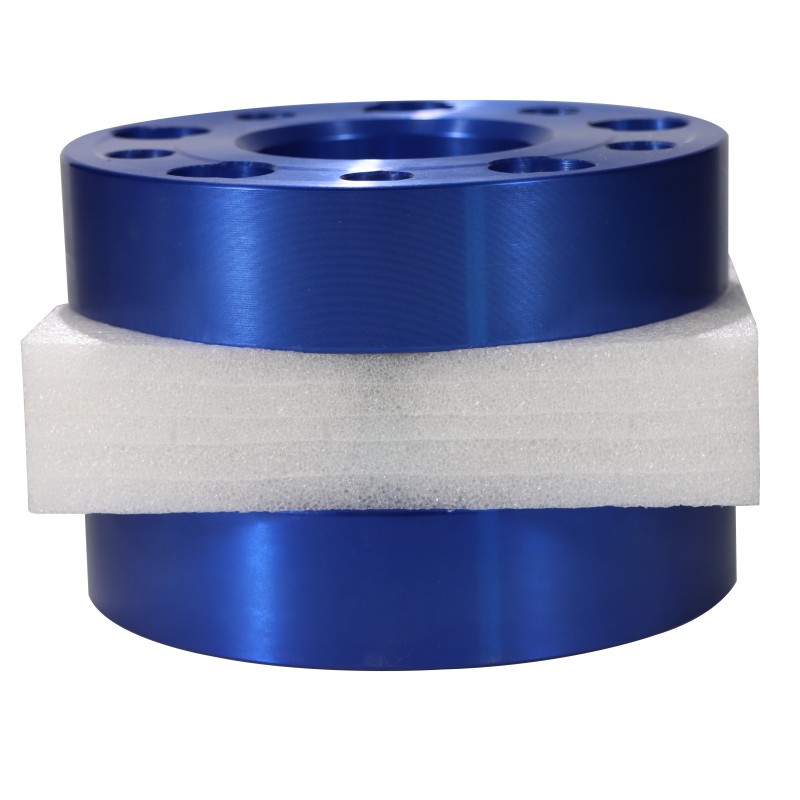
Do not judge serviceability from color alone. A dark anodized spacer can fade or stain and remain dimensionally sound. A clean-looking part can hide fretting, a pit at a center lip, lifted material around a hole or corrosion on the rear face.
First inspection question: after approved cleaning, is the mark only on top of the finish, or has the base material lost metal, changed shape, cracked or raised an edge that prevents flat contact?
Why corrosion can develop at an aluminum-to-steel joint
Galvanic corrosion requires a conductive path between dissimilar metals and an electrolyte. The FAA uses the same three-part definition: dissimilar metals in contact, bridged by an electrolyte such as water. [2]
A wheel end can supply those conditions when an aluminum spacer contacts a ferrous hub, rotor or hardware and moisture enters the joint. Road salt and deicing chemicals make the wet path more conductive. Close-fitting bores and mounting interfaces can retain contamination after the exposed surface appears dry.
One wet journey does not predict a fixed corrosion depth, and no universal “safe number of winters” exists. Alloy, temper, surface preparation, anodic coating, seal, exposed edges, drainage, salt concentration and maintenance all change the rate and location of attack.
Anodizing improves protection, but color is not the specification
Anodizing is an electrochemical process that converts the aluminum surface into an integrated aluminum oxide finish. The Aluminum Anodizers Council describes the layer as part of the substrate rather than paint placed on top. [3]
Specify the finish by function
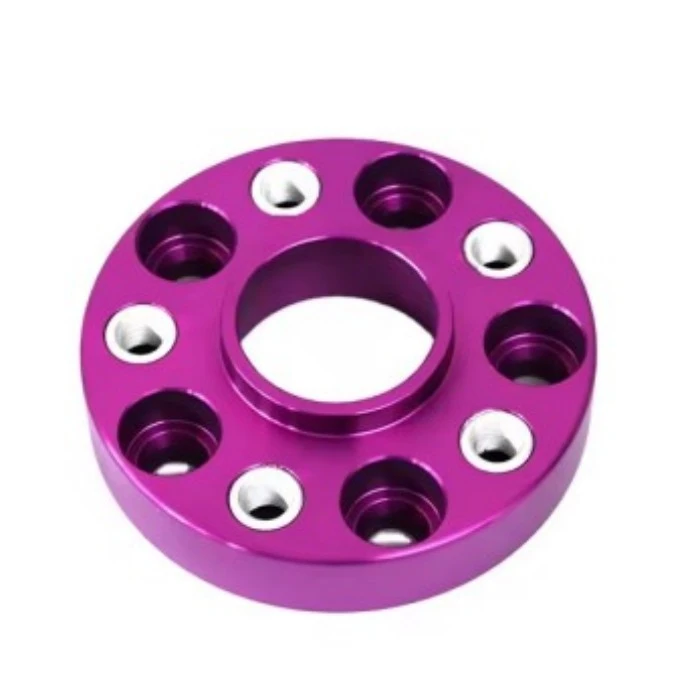
“Black anodized” or “purple anodized” names an appearance, not a complete performance requirement. A controlled order can define the anodizing type, class or color, minimum or range of coating thickness, sealing requirement, masked areas, contact marks, accepted color range, corrosion test and sampling plan.
The base alloy and temper also affect anodizing response. The finish specification should travel with the material and drawing, not live as a color note in a sales email.
An anodic layer can still be damaged by installation tools, fretting, grit or an incompatible cleaning method. Machined threads, press-fit stud bores and contact zones may also be masked or treated differently by design. A buyer should not assume every visible and hidden surface carries the same coating.
| Sales description | What it tells you | What still needs a requirement |
|---|---|---|
| Black anodized | Intended finish family and color | Process type, thickness, seal, color range, coverage and test method |
| Hard anodized | Intended high-build or wear-oriented anodic finish | Exact governing specification, coating range, dimensions after coating and allowed finish zones |
| Salt-spray tested | A corrosion test may have been performed | Standard, duration, specimen, acceptance criteria, lot, report and whether the tested finish matches production |
| Corrosion resistant | A general design goal | Environment, material pair, finish performance, maintenance and pass or fail criteria |
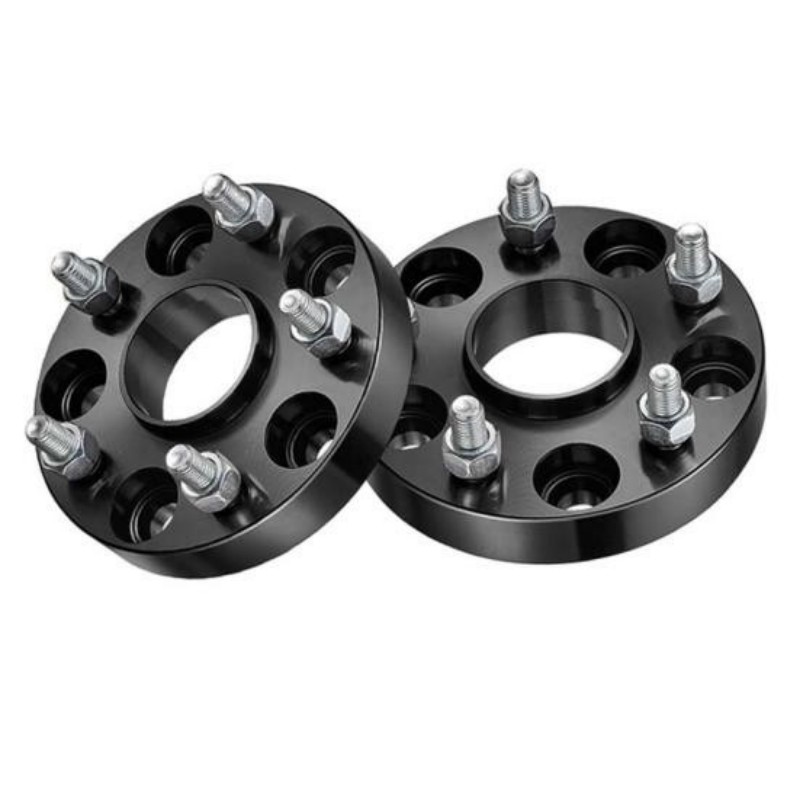
J&W's current wheel spacer product page publishes several finish colors. Treat them as available appearance examples. The order drawing and agreed inspection record should control the supplied finish.
Corrosion matters most where the part locates, clamps or retains hardware
A small cosmetic stain on an exposed outer edge and a pit under a mounting face are not the same finding. Inspect by function.
Mounting faces
Raised rust, grit, paint, burrs or corrosion product can prevent flat contact. The hub-to-spacer and spacer-to-wheel faces must both be clean, undamaged and able to seat without being pulled flat by fasteners.
Center bore and lip
Build-up can seize a close-fitting pilot. Pitting or damaged coating can also change the fit. Inspect the bore, base radius, chamfers and wheel-side lip around the full circumference.
Holes, threads and stud seats
Look for fretting, enlarged holes, displaced material, thread damage, movement around press-fit studs or corrosion that reaches a loaded seat. These findings need qualified assessment.
Edges and pockets
Edge damage may expose bare aluminum. Deep pockets can trap water and debris. Clean and inspect them without changing the machined geometry or removing parent metal.
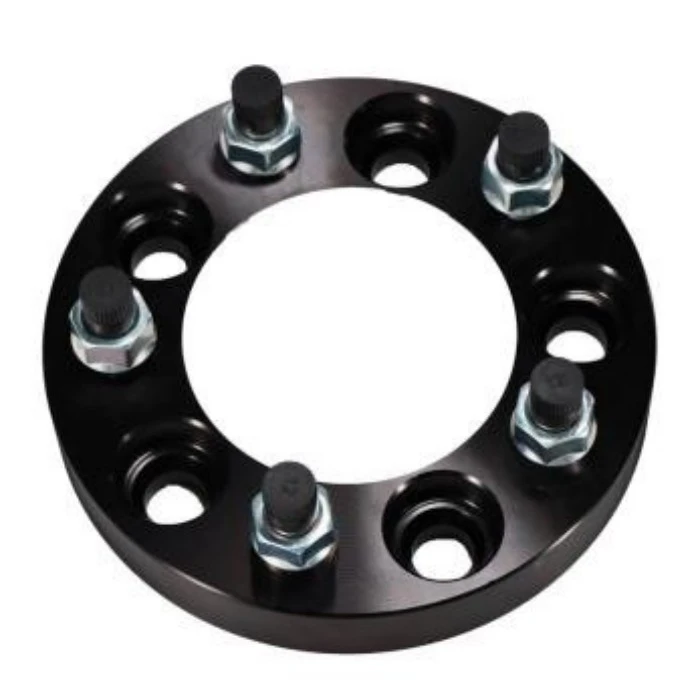
Photograph the part by inspection zone
- Capture both broad mounting faces square to the camera.
- Add close views of the inboard bore and outboard pilot.
- Record every hole, stud seat, thread and damaged edge.
- Include the part ID and lot reference in the same inspection set.
Use the wheel spacer center-bore guide to identify the inboard bore, outboard lip, chamfers and usable heights. Corrosion inspection is more useful when every surface has a known fitment job.
Clean first, then separate deposits from base-metal damage
Inspect the spacer after removal, using the cleaning method permitted by the exact product and vehicle instructions. Avoid harsh chemistry, aggressive abrasives or tools that can round a pilot, scratch a mounting face or embed foreign metal into aluminum.
| Observation after cleaning | Possible interpretation | Next action |
|---|---|---|
| Uniform color change with a smooth, intact surface | Cosmetic fading, staining or finish variation may be present | Check the manufacturer's appearance and reuse criteria; still inspect hidden faces and dimensions |
| Loose orange scale on the hub-side face | Ferrous rust may have transferred from a hub or rotor surface | Clean and inspect both parts; confirm the faces remain flat and undamaged |
| White powder in a bore or recess | Aluminum corrosion product, salt residue or cleaner deposit is possible | Remove approved residues, dry fully and examine the base metal for pits or swelling |
| Dark rub marks with metal dust | Relative movement or fretting may have occurred | Stop reuse until fastener condition, fit, centering and contact faces are assessed |
| Pits at a mounting face, center lip or loaded hole | Base metal has been lost in a functional zone | Remove from service for a qualified decision against the part's acceptance criteria |
| Crack, distortion, raised burr or damaged thread | The interface or retention feature is compromised | Do not reinstall as a cosmetic repair; replace or obtain an engineering disposition |
Orange staining does not prove the aluminum itself is sound. White residue does not prove it is damaged. The decision comes from the cleaned surface, depth and location of material loss, dimensional checks, hardware condition and the manufacturer's acceptance rules.
Fretting marks, loose hardware, elongated holes, cracked coating around a stud, new vibration, clicking or a wheel that will not seat flat require inspection before the vehicle returns to service.
A stuck wheel spacer is a removal problem, not proof of good fit
A spacer may seize around the hub pilot even after all nuts or bolts are removed. Corrosion product can occupy the small radial gap. A burr, damaged pilot or interference fit can create a similar symptom.
- Support the vehicle using the approved lifting procedure. Never work under a vehicle supported only by a jack. Follow the workshop manual and use the specified support points and equipment.
- Account for every spacer fastener. A bolt-on spacer has a hub-side fastening stage hidden behind the wheel. Confirm that every retaining nut or bolt is fully removed before applying extraction force.
- Look for a designed removal feature. Some parts include threaded extraction holes or a manufacturer-defined puller method. Use only the specified screw size, sequence and force path.
- Keep force away from studs, brake shields and sealing surfaces. Do not pry against thin brake parts, strike wheel studs, loosen the assembly for road driving or heat the hub area as an improvised release method.
- Escalate before damaging the wheel end. A qualified workshop can identify whether corrosion, interference, a burr or deformed hardware is holding the spacer and select suitable removal equipment.
After removal, a shiny ring at the pilot may show where the parts contacted, but it does not establish acceptable clearance. Clean and measure the hub, spacer bore and relevant profiles. If the part previously needed abnormal force to install or remove, review the fit before reusing it.
Eibach's Pro-Spacer installation instructions require the hub center and wheel to be clean and free of rust and dirt, followed by a dry fit that checks the spacer location, hole alignment and flush seating. The instructions stop the installation if those checks fail. [4]
Prevention is location-specific: protect the pilot without changing the clamp joint
Lubrication advice cannot be copied from one wheel system to every spacer. A compound on a close-fitting pilot may be permitted in one manual, while oil on a mounting face, fastener seat or thread may be prohibited or require a different torque procedure.
Good controls
- Start with a finish requirement that names more than color.
- Keep both mounting faces clean, dry and flat before assembly.
- Use only the corrosion inhibitor, anti-seize or lubricant named for the exact location by the controlling instructions.
- Inspect the hidden faces when the wheel is removed and after severe salt or water exposure as the service plan requires.
- Record spacer and hardware condition during scheduled wheel service.
Shortcuts to avoid
- Do not coat the clamping faces to make a rough surface feel smooth.
- Do not lubricate threads or seats and then apply a dry torque value unless the exact instructions say to do so.
- Do not paint over corrosion without removing the part and inspecting the base metal.
- Do not sand a bore or lip until the spacer fits. That changes a locating dimension.
- Do not assume a bright color means the coating is intact on hidden faces.
That location rule matters because friction affects the relationship between applied torque and fastener clamp load. Follow the vehicle, wheel, spacer and hardware instructions. If they disagree, stop and obtain the correct application-specific procedure. The wheel spacer torque guide explains why a single internet torque value cannot cover every fastener system.
For a batch order, turn “corrosion resistant” into inspectable fields
| Order field | Useful requirement | Evidence to retain |
|---|---|---|
| Base material | Alloy, temper, product form and permitted substitution | Source material record tied to the wheel spacer lot |
| Surface preparation | Mechanical and chemical preparation suitable for the stated alloy and finish | Controlled process route and lot traveler |
| Anodic finish | Type or governing specification, color class, thickness range and sealing requirement | Finish certificate plus measured coating or seal results when specified |
| Coverage and masking | Faces, bores, holes, threads, stud seats and contact marks clearly identified on the drawing | Visual record and dimensional inspection after finish |
| Corrosion test | Test standard, exposure, specimen, acceptance criteria, sample quantity and frequency | Report that identifies the tested lot and exact finish system |
| Packaging | Dry, non-abrasive separation and moisture-control requirements appropriate to the shipment | Packing specification and outgoing inspection |
A photo of a colored wheel spacer cannot answer these fields. Send the intended environment, material, drawing, finish performance and inspection plan with the request. J&W can then discuss the wheel spacer and its surface treatment as one controlled part.
Wheel spacer corrosion questions
Do aluminum wheel spacers rust?
Aluminum does not form iron rust, but an aluminum wheel spacer can oxidize, stain, pit or corrode. Orange or brown residue may come from nearby steel or iron parts, while pale or powdery deposits may involve aluminum corrosion. Appearance alone cannot determine whether the part remains serviceable.
Why is my wheel spacer stuck to the hub?
Corrosion products, road salt, dirt and moisture can accumulate around the hub pilot and between close-fitting features. A damaged bore, burr or incorrect fit can also hold the spacer. Support the vehicle correctly, remove all fasteners and use only the removal method specified for the exact spacer or a qualified workshop.
Does anodizing stop wheel spacer corrosion?
Anodizing creates an integrated aluminum oxide layer that can improve corrosion and wear resistance. Its performance still depends on alloy, anodizing type, coating thickness, sealing, handling damage and exposure. Color alone does not define those properties.
Should I put anti-seize on wheel spacer mounting faces?
Do not apply anti-seize, grease or another compound to clamping faces, fastener threads or seats unless the instructions for the exact vehicle, wheel, spacer and hardware specify the product and location. Lubrication changes friction and can alter the relationship between applied torque and clamp load.
Can I install a wheel spacer over surface rust?
No loose rust, corrosion scale, dirt, paint build-up or raised damage should remain between the mating faces. The spacer and wheel must reach full, flat contact by hand. Use the cleaning and inspection procedure permitted by the vehicle and spacer manufacturers.
When should a corroded wheel spacer be replaced?
Remove the part from service for qualified inspection if there is pitting at a loaded or locating feature, cracking, deformation, damaged threads or stud seats, enlarged holes, fretting, coating loss with base-metal attack, or any inability to seat and fasten correctly. A cosmetic color change is not enough to make the decision by itself.